Living in a rental apartment in the United States often means accepting limitations. Lease agreements usually prohibit drilling large holes, building permanent walls, or making structural changes. At the same time, open-concept layouts — especially in studios and one-bedroom units — can create challenges when it comes to privacy, organization, and functionality.
A removable slat panel divider has become one of the most practical solutions for renters who want to define spaces without violating lease terms. Unlike solid partitions or heavy furniture, slatted dividers maintain light flow and visual openness while still creating distinct zones. More importantly, they can be installed and removed without causing permanent damage.
This guide will walk you through everything you need to know — from understanding what this system is, to selecting the right type, installing it safely, avoiding common mistakes, and removing it properly when you move out.
What Is a Removable Slat Panel Divider?
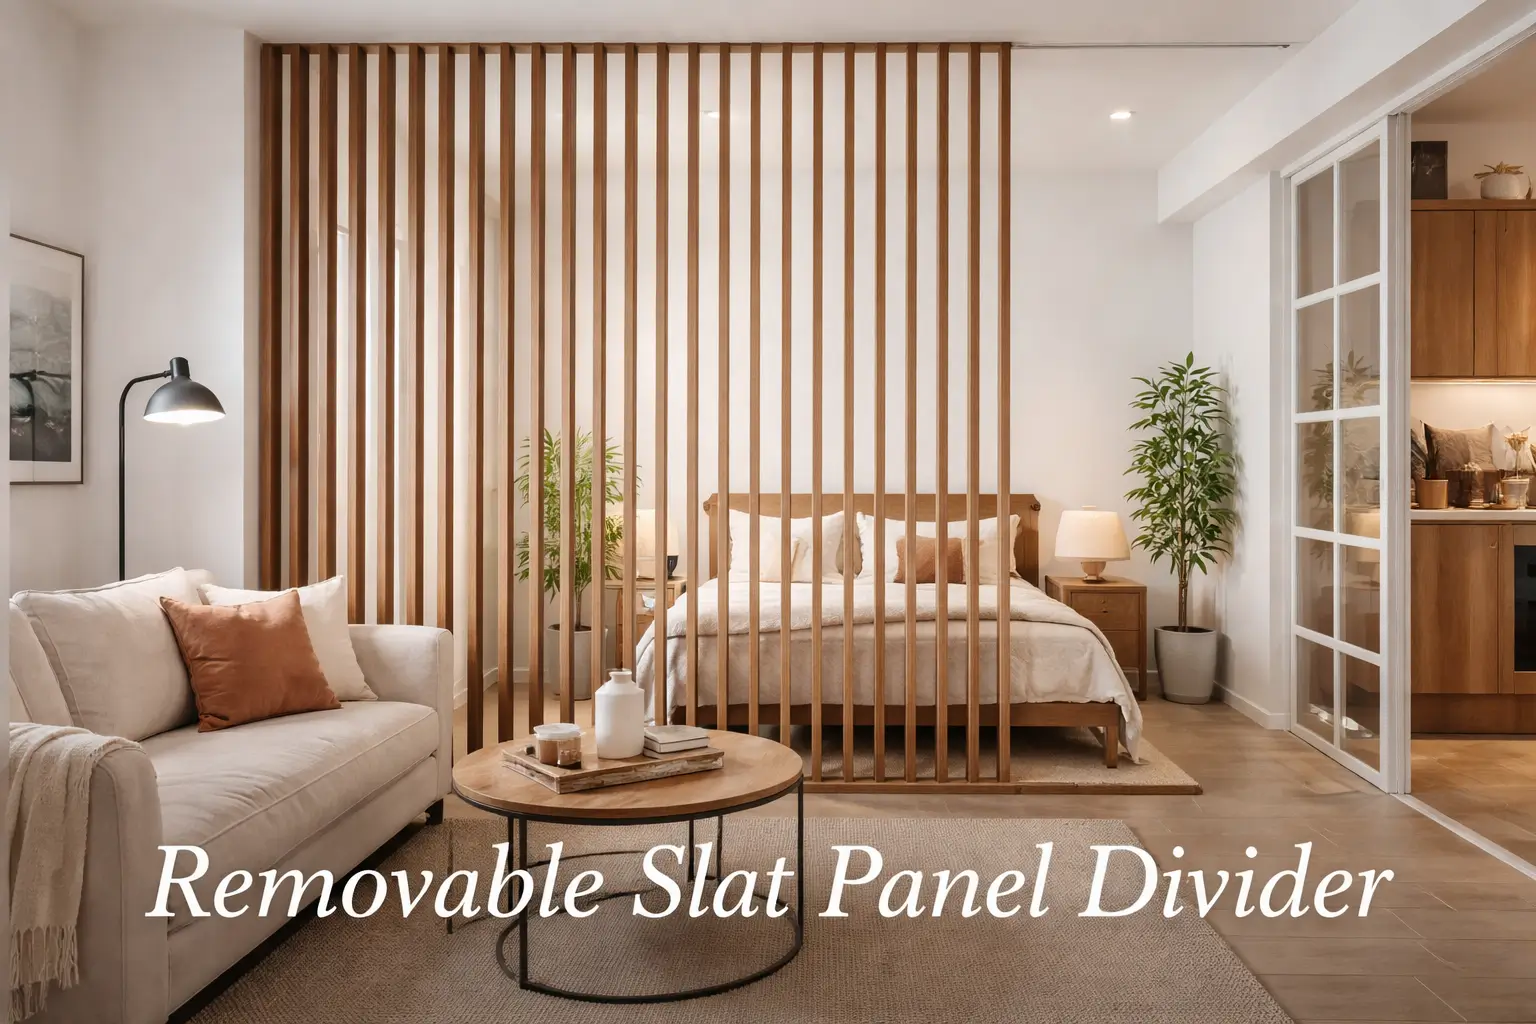
A removable slat panel divider is a vertical structure made of evenly spaced wooden, MDF, or composite slats designed to divide a room without building a permanent wall. The slats are typically arranged from floor to ceiling or mounted within a freestanding frame.
The key characteristics include:
- Vertical linear design
- Even spacing between slats
- Light and airflow preservation
- Non-permanent or minimally invasive installation
Most renter-friendly models fall into three categories:
- Tension-mounted systems – Installed between floor and ceiling using pressure.
- Freestanding frames – Stand independently without attachment.
- Modular panel kits – Attached with minimal anchors or adhesive systems.
For rental apartments, tension-mounted systems are usually the safest option.
Why Rental Apartments Benefit from Flexible Dividers
Modern rental apartments often feature open layouts. While visually appealing, this design can create functional problems:
- Studio apartments without bedroom separation
- No clear boundary between living and home office space
- Limited privacy in shared rentals
- Visual clutter in small square footage
Renters need solutions that are:
- Non-permanent
- Easy to install
- Easy to remove
- Aesthetically pleasing
- Budget-conscious
A removable slat panel divider meets all of these requirements while adding architectural interest to the space.
Main Benefits of a Removable Slat Panel Divider
1. Lease-Friendly Installation
Most systems do not require drilling into walls. This significantly reduces the risk of losing your security deposit.
2. Modern Architectural Look
Vertical slats create a clean, contemporary design that feels intentional rather than temporary.
3. Light Preservation
Unlike drywall or solid partitions, slats allow natural light to pass through.
4. Space Definition Without Shrinking the Room
The visual division creates zones without making the apartment feel smaller.
5. Easy Removal When Moving
You can dismantle the structure and take it to your next apartment.
Step-by-Step Guide to Installing a Removable Slat Panel Divider
Below is a detailed installation process designed specifically for renters in the United States.
Step 1: Review Your Lease Agreement
Before purchasing anything:
- Check clauses related to wall modifications.
- Confirm whether temporary installations are allowed.
- Look for language regarding ceiling pressure systems.
If in doubt, email your landlord for written confirmation. Documentation protects you later.
Step 2: Measure Your Space Precisely
Accurate measurements are critical.
Measure:
- Floor-to-ceiling height (in multiple spots)
- Width of the intended divider area
- Distance from smoke detectors or sprinklers
- Clearance from air vents
Use a laser level or measuring tape and write everything down. Even a half-inch error can affect stability.
Step 3: Choose the Right Mounting System
For rental safety, prioritize:
- Pressure-mounted tension systems
- Rubber or silicone ceiling/floor protectors
- Adjustable height mechanisms
Avoid:
- Systems requiring permanent anchors
- Heavy panels that exceed ceiling tolerance
- Installations near sprinkler heads
If your ceiling is drywall, make sure pressure points distribute weight evenly.
Step 4: Prepare the Area
Before installation:
- Clear furniture from the area.
- Vacuum the floor.
- Wipe ceiling contact points.
- Lay protective padding if included.
A clean surface improves grip and prevents shifting.
Step 5: Assemble the Slats
Depending on the kit:
- Attach slats to the base rail.
- Align spacing carefully.
- Use a level to ensure vertical alignment.
- Pre-tighten bolts but avoid full tension.
Take your time during this step. Misalignment here affects the entire structure.
Step 6: Install Using Controlled Tension
Position the divider vertically. Then:
- Adjust the height mechanism slowly.
- Apply gradual upward pressure.
- Check vertical alignment with a level.
- Tighten evenly on both sides.
Important: Do not overtighten. Excess pressure can damage drywall ceilings.
Step 7: Test Stability
After installation:
- Gently push side-to-side.
- Check for wobbling.
- Ensure slats remain straight.
- Inspect ceiling contact area.
If movement occurs, readjust tension slightly.
Best Places to Use a Slat Panel Divider in Rental Apartments
Here are common applications that work especially well:
Studio Bedroom Separation
Create a sleeping area without building a wall.
Home Office Zone
Visually separate your workspace from relaxation space.
Entryway Definition
Add structure to open-concept living areas.
Shared Apartment Privacy
Provide partial visual separation in shared spaces.
Cost Breakdown in the U.S. Market
Pricing varies depending on material and size.
- Budget models: $150–$300
- Mid-range wood systems: $400–$800
- Custom hardwood designs: $1,000+
Additional costs may include:
- Level tool
- Protective pads
- Delivery fees
Compared to potential repair costs for wall damage, this investment can be financially reasonable.
Common Mistakes Renters Should Avoid
- Ignoring ceiling type (drywall vs. concrete)
- Installing under sprinkler systems
- Overtightening tension rods
- Blocking HVAC airflow
- Choosing overly dark finishes in small spaces
Avoiding these errors protects both your apartment and your deposit.
How to Remove the Divider Safely Before Moving Out
Removal should be done carefully.
Step-by-step removal:
- Loosen tension gradually.
- Support the structure while lowering.
- Remove protective pads slowly.
- Inspect for marks.
- Clean surfaces with mild solution.
If minor indentations appear, they typically fade over time. Avoid scraping or sanding.
Design Tips to Make It Look Built-In
To elevate the aesthetic:
- Match slat color with flooring tone.
- Align divider with furniture edges.
- Add soft lighting behind slats.
- Keep decor consistent on both sides.
You can also:
- Use vertical lines elsewhere in décor.
- Add plants near the divider.
- Keep spacing symmetrical.
These small decisions make the installation feel intentional.
Comparison With Other Rental Divider Options
Here is how slat panels compare to alternatives:
Curtains
- Affordable
- Easy to install
- Less architectural presence
Bookshelves
- Provide storage
- Heavier visual impact
- Can block natural light
Glass Panels
- High-end appearance
- Often require professional installation
- Less renter-friendly
Slat panels balance modern design, flexibility, and practicality better than most alternatives.
Is a Removable Slat Panel Divider Worth It?
For renters who:
- Need privacy in studios
- Work from home
- Share apartments
- Want design upgrades without construction
This solution offers both function and style. It transforms open layouts into organized zones without permanent commitment.
When installed properly and removed carefully, it minimizes risk while maximizing usability.
Conclusion
A removable slat panel divider is not just a design trend — it is a functional solution tailored for rental living. It provides structure, privacy, and aesthetic appeal without violating lease agreements. By choosing the right system, measuring accurately, and installing with controlled tension, renters can safely redefine their spaces.
If you want a modern way to divide your apartment without drilling holes or risking your deposit, this option deserves serious consideration.
Frequently Asked Questions
1. Can a slat panel divider damage drywall ceilings?
If overtightened, yes. When installed correctly with protective pads, damage risk is minimal.
2. Do I need professional installation?
Most tension-mounted systems are designed for DIY installation.
3. Are they suitable for small apartments?
Yes. They are especially effective in studios and compact one-bedroom units.
4. Do they provide soundproofing?
They offer minimal sound reduction. They mainly provide visual separation.
5. Can I reuse the divider in another apartment?
Yes. That is one of the main advantages of removable systems.