Living in a rental apartment in the United States often means adapting to limited layouts. Whether you’re in a studio in New York, a one-bedroom in Chicago, or a compact unit in Austin, open spaces can quickly become multifunctional zones — bedroom, office, dining area, and living room all in one. The problem is simple: you need separation, but your lease agreement likely prohibits permanent modifications.
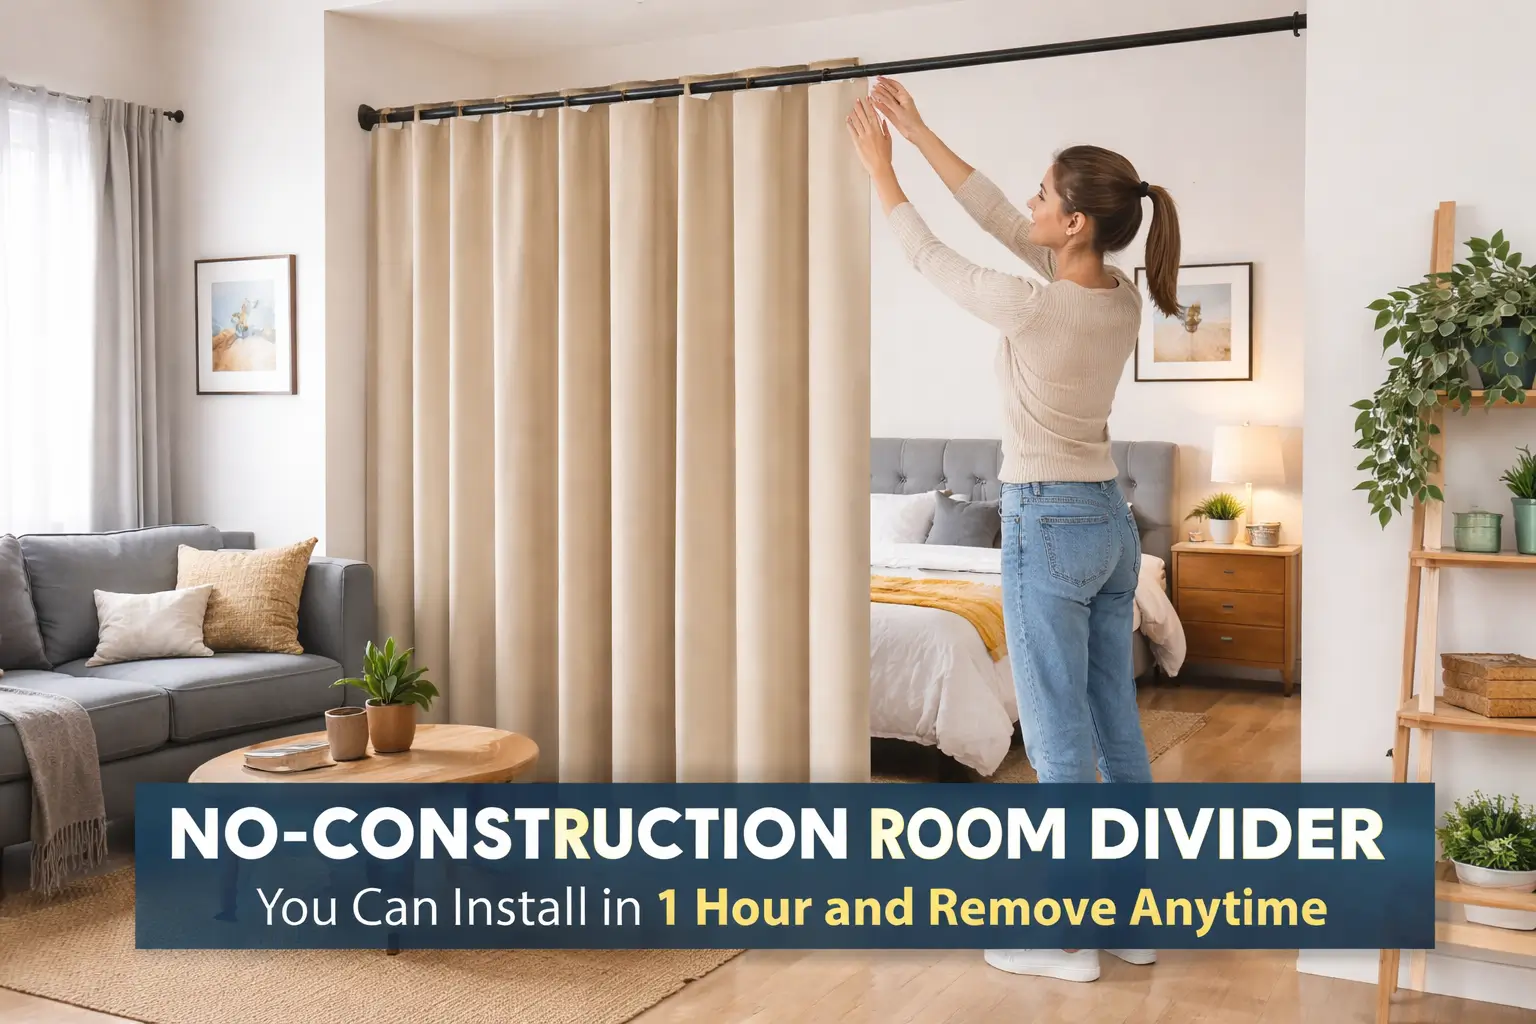
A no-construction room divider you can install in 1 hour and remove anytime provides a professional, damage-free way to create structure inside your apartment. No drilling. No screws. No patching walls before move-out. Just a practical system that gives you privacy, organization, and flexibility — all without risking your security deposit.
This guide will walk you through everything you need to know: what these dividers are, how to choose the right one, how to install it step by step in under an hour, and how to remove it cleanly when you move.
Why Renters Need a No-Construction Room Divider
Modern rental units are designed for openness, but open layouts don’t always support daily life. Renters commonly face challenges such as:
- Lack of privacy in studio apartments
- No separation between bedroom and workspace
- Shared apartments with roommates
- Visual clutter from combined living areas
- Noise distractions during remote work
A temporary room divider solves these problems without requiring structural changes. It allows you to:
- Define zones within a single room
- Improve concentration while working from home
- Create a private sleeping area
- Hide storage or clutter
- Increase perceived organization and value of the space
Most importantly, it aligns with lease restrictions and landlord expectations.
What Is a No-Construction Room Divider?
A no-construction room divider is a temporary partition system that does not require permanent installation. Unlike drywall or framed walls, these systems rely on pressure, weight, or freestanding support.
Common types include:
- Tension-mounted floor-to-ceiling systems
- Freestanding partition panels
- Curtain dividers with tension rods
- Folding accordion-style screens
- Modular panel systems with weighted bases
The defining feature is reversibility. When properly installed, these dividers leave no holes, no paint damage, and no structural alterations.
Key Benefits of a Temporary Room Divider
Before choosing a system, it’s important to understand the practical advantages.
1. Fast Installation
Most quality systems can be installed in 45–60 minutes with basic tools or no tools at all.
2. Lease-Safe
Because they don’t require drilling, they protect your security deposit.
3. Budget-Friendly
Compared to building a wall (which can cost $1,000 or more), temporary dividers typically range from $50 to $400.
4. Flexible and Reusable
You can move or remove them anytime. Many systems can be reused in your next apartment.
5. Design Versatility
They come in different materials, finishes, and opacity levels, allowing you to match your interior style.
Types of No-Construction Room Dividers Explained
Choosing the right type depends on your apartment layout and goals.
Tension-Mounted Floor-to-Ceiling Dividers
These use compression poles that extend between the floor and ceiling. They provide a semi-permanent feel without damage.
Best for:
- Creating bedroom separation in studios
- Home office partitions
- Long-term use within a rental
Advantages:
- Stable and secure
- Clean, built-in appearance
- Adjustable height
Consideration:
- Must measure ceiling height precisely
Freestanding Partition Panels
These stand independently and require no wall or ceiling contact.
Best for:
- Flexible layouts
- Temporary setups
- Renters who move furniture often
Advantages:
- Zero installation
- Portable
- Easy to reposition
Consideration:
- May not provide full visual block depending on design
Curtain Divider Systems
These use tension rods or freestanding frames to support fabric panels.
Best for:
- Budget-conscious renters
- Soft visual separation
- Bedrooms in studio apartments
Advantages:
- Affordable
- Lightweight
- Easy to customize fabric
Consideration:
- Not soundproof
Folding Screen Dividers
Classic accordion-style partitions that unfold and stand upright.
Best for:
- Decorative separation
- Light visual blocking
- Quick setup
Advantages:
- No assembly
- Easy storage
- Aesthetic appeal
Consideration:
- Less stable in high-traffic areas
Step-by-Step Guide: Install a Room Divider in Under 1 Hour
Here is a professional, structured installation process to ensure stability and safety.
Step 1: Measure Your Space Accurately (10 Minutes)
You will need:
- Measuring tape
- Notebook or phone for notes
- Level (optional but recommended)
Measure:
- Floor-to-ceiling height
- Width of the area you want to divide
- Clearance for furniture and walkways
Important tip:
Always measure in at least two places, especially in older buildings where ceilings may not be perfectly level.
Step 2: Choose the Right Divider Size
Check manufacturer specifications carefully.
Ensure:
- Height adjustment range includes your ceiling height
- Width covers your intended separation zone
- Weight capacity matches panel material
Avoid fixed-size systems unless measurements match exactly.
Step 3: Prepare the Area (5–10 Minutes)
Before installing:
- Remove rugs that could affect stability
- Clear furniture away from installation area
- Clean ceiling and floor contact points
This ensures maximum grip and prevents sliding.
Step 4: Assemble the Frame (15–20 Minutes)
Most no-construction systems use:
- Twist-lock poles
- Snap-in connectors
- Sliding adjustment mechanisms
Follow manufacturer instructions carefully.
Professional tip:
Do not fully tighten tension systems immediately. Position everything first, then gradually increase pressure.
Step 5: Secure the Divider (10–15 Minutes)
For tension-mounted systems:
- Extend pole vertically.
- Apply gradual upward pressure.
- Check vertical alignment with level.
- Tighten until firm but not over-compressed.
For freestanding systems:
- Attach base supports.
- Ensure weight distribution is even.
- Test stability by gently pushing.
The divider should feel stable but not strained.
Step 6: Attach Panels or Curtains (10 Minutes)
Depending on system:
- Slide panels into tracks
- Hook fabric onto support bar
- Lock modular pieces into place
Ensure edges align evenly for professional appearance.
Total estimated time: 45–60 minutes.
How to Remove the Divider Without Damage
When moving out or redesigning:
- Release tension slowly.
- Disassemble panels first.
- Lower compression poles gradually.
- Wipe ceiling and floor contact points.
- Store parts in labeled bags.
There should be no visible marks if installed correctly.
Best Materials for Rental-Friendly Dividers
Material choice affects durability, aesthetics, and privacy.
Fabric Panels
- Lightweight
- Affordable
- Wide design options
- Easy to replace
Wood Composite Panels
- More rigid
- Modern or rustic finishes
- Greater durability
PVC or Vinyl
- Moisture-resistant
- Easy to clean
- Good for kitchens or shared spaces
Frosted Acrylic
- Maintains light flow
- Offers privacy
- Modern appearance
Choose based on:
- Desired privacy level
- Budget
- Apartment design style
- Light requirements
Common Mistakes to Avoid
Avoiding errors ensures safety and longevity.
- Incorrect measurements
- Over-tightening tension rods
- Blocking HVAC airflow
- Ignoring weight limits
- Installing on uneven surfaces without adjustment
- Choosing style over stability
Always prioritize safety and structure over aesthetics alone.
Design Ideas for Small Apartments
A no-construction room divider can significantly improve layout functionality.
Studio Apartment Bedroom Separation
Use a ceiling-mounted tension system with opaque fabric to create a private sleeping zone.
Home Office Nook
Install a semi-transparent divider to maintain light while reducing distractions.
Shared Bedroom Split
Freestanding panels create defined personal zones for roommates.
Living Room Storage Concealment
Use decorative screens to hide shelving or clutter areas.
Strategic placement can make a 500-square-foot apartment feel organized and intentional.
Cost Breakdown and Budget Planning
Typical price ranges in the United States:
- Curtain systems: $40–$150
- Folding screens: $80–$250
- Tension-mounted systems: $120–$400
- Modular premium systems: $400–$800
When budgeting, consider:
- Longevity
- Reusability
- Installation ease
- Warranty coverage
While upfront costs vary, the long-term flexibility often makes temporary dividers a high-value investment.
Conclusion
A no-construction room divider you can install in 1 hour and remove anytime is one of the smartest upgrades a renter can make. It allows you to redefine your living space without violating lease terms or risking your deposit. With proper measurements, material selection, and careful installation, you can create privacy, structure, and improved functionality in less than an afternoon.
In today’s flexible living environments, adaptability matters. A temporary room divider delivers that adaptability with professionalism, affordability, and peace of mind.
Frequently Asked Questions
1. Can a tension-mounted divider fall over?
When properly measured and installed without over-tightening, it is secure. Always follow manufacturer guidelines.
2. Are no-construction room dividers soundproof?
They reduce noise slightly but are not fully soundproof. For better sound reduction, choose thicker materials.
3. Will my landlord approve this?
Because there is no drilling or permanent modification, most landlords allow them. Always review your lease.
4. Can I install one alone?
Yes. Most systems are designed for single-person installation within one hour.
5. Is it worth investing in a higher-end system?
If you plan to reuse it in future rentals, a durable, adjustable system often provides better long-term value.