Living in a rental apartment comes with clear limitations. You cannot drill into walls freely, install permanent partitions, or modify structural elements without risking your security deposit. At the same time, your daily needs evolve. You may start working from home, need more privacy in a studio layout, or simply want better visual organization.
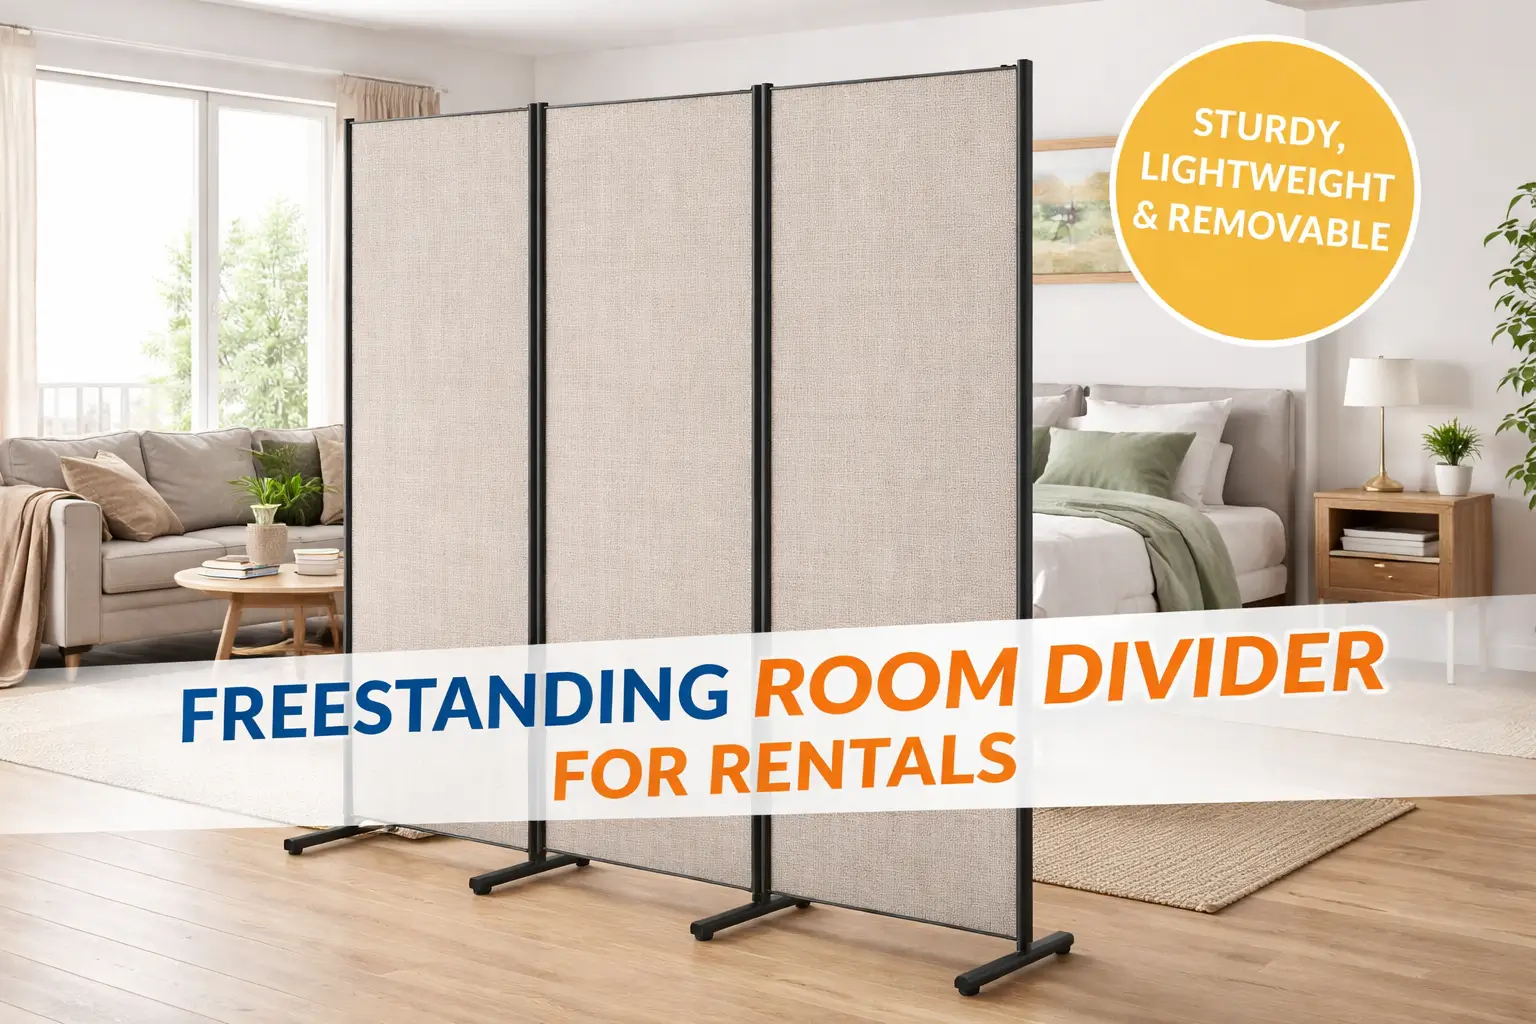
A freestanding room divider for rentals offers a strategic, damage-free solution. When chosen correctly, it allows you to create functional zones, improve privacy, and enhance design without violating your lease agreement.
This guide will walk you step by step through everything you need to know — from choosing the right model to installing it safely and maximizing its impact in your space.
Why Renters Need a Freestanding Room Divider
Most rental apartments are designed with open layouts to appeal to a wide audience. While that flexibility is useful, it often lacks structure.
Common renter challenges include:
- Studio apartments with no separation between sleeping and living areas
- Open living rooms that double as home offices
- Shared apartments where privacy is limited
- Small bedrooms that need multi-purpose zoning
A freestanding divider addresses these issues without requiring permanent changes. It allows you to divide space visually or functionally while remaining 100% removable.
Strategically, this is about control. Instead of adapting your lifestyle to a fixed layout, you introduce adaptable structure.
What Makes a Room Divider Truly Rental-Friendly
Not every divider is safe for rental use. Some models appear freestanding but require anchoring for stability. Others use adhesives that can damage paint or flooring.
To ensure your investment is truly rental-safe, evaluate the following criteria carefully.
1. No-Drill Installation
This is non-negotiable.
Your divider should:
- Require zero wall screws
- Avoid ceiling anchors
- Use internal structural support
- Stand independently without wall contact
If installation instructions include tools for drilling, it is not fully rental-friendly.
2. Structural Stability Without Excessive Weight
Many renters assume heavier means sturdier. That is not always true.
A well-designed divider relies on:
- Balanced weight distribution
- Wide or reinforced base support
- Quality joint connections
- Anti-tip design engineering
Stability should come from design, not just mass. A heavy but poorly engineered unit can still wobble.
3. Lightweight Yet Durable Materials
Mobility is important in rentals. You may move apartments or rearrange layouts frequently.
Ideal materials include:
- Powder-coated aluminum (light and corrosion-resistant)
- Engineered wood (balanced strength and weight)
- Steel frames with slim profiles
- Reinforced composite panels
Avoid cheap plastic frames that flex easily or warp over time.
4. 100% Removability Without Surface Damage
Before purchasing, ask yourself:
- Will this leave indentations on soft flooring?
- Does it use adhesive strips?
- Can it be disassembled easily for moving?
- Will it scratch hardwood or laminate?
Look for padded feet, rubber caps, and smooth edge finishes.
Step-by-Step: How to Choose the Right Divider for Your Rental
Making the right decision requires a systematic approach. Follow this step-by-step framework.
Step 1: Measure Your Space Precisely
Do not estimate.
Measure:
- Floor-to-ceiling height
- Width of the area to divide
- Clearance from HVAC vents
- Distance from windows
Accurate measurements prevent costly mistakes and returns.
Step 2: Define the Purpose Clearly
Ask yourself what problem you are solving.
Is it:
- Visual separation only?
- Sound reduction?
- A private sleeping area?
- A professional background for video calls?
- Additional storage space?
Your purpose determines the type of divider you need.
Step 3: Choose the Right Type of Divider
Here are the most effective rental-friendly options.
Folding Panel Dividers
Best for flexibility.
Advantages:
- Easy to move
- No installation required
- Adjustable angle positioning
Ideal for renters who frequently rearrange.
Bookshelf Dividers
Best for multi-functionality.
Benefits:
- Storage and separation combined
- Strong base stability
- Modern aesthetic
Open-back shelves maintain light flow while creating definition.
Tension-Based Systems
Best for minimal footprint.
Advantages:
- Floor-to-ceiling structure
- Clean, modern look
- Efficient space use
Important: Ensure rubber padding protects both ceiling and floor surfaces.
Fabric or Curtain Dividers
Best for lightweight solutions.
Benefits:
- Budget-friendly
- Easy to install
- Soft visual separation
However, they provide minimal sound insulation.
Step 4: Evaluate Stability and Safety
Safety should never be overlooked.
Checklist:
- Does it include anti-tip features?
- Are the joints reinforced?
- Is the base wide enough?
- Is the weight evenly distributed?
If you have pets or children, prioritize stability even more.
Step 5: Align Design with Space Optimization
A divider should enhance your apartment — not shrink it visually.
To maximize small spaces:
- Choose neutral or light colors
- Use semi-transparent materials
- Avoid bulky frames
- Maintain consistent visual lines
The goal is separation without confinement.
Installation Guide: How to Set Up Without Damaging Your Apartment
Even rental-safe dividers must be installed correctly.
Follow this structured process:
1. Prepare the Area
- Clear the floor completely
- Sweep and clean the surface
- Inspect for uneven flooring
Uneven floors can affect stability.
2. Assemble on a Soft Surface
Use a rug or blanket during assembly to prevent scratches.
Do not assemble directly on hardwood or laminate.
3. Position Carefully Before Final Placement
Place the divider loosely in position and check:
- Alignment
- Stability
- Clearance from doors
- Airflow from vents
Adjust before final tightening.
4. Tighten Gradually and Evenly
If hardware is included:
- Tighten screws gradually
- Avoid over-tightening
- Re-check balance after full assembly
Over-tightening can stress joints.
5. Test Stability Thoroughly
Gently apply pressure from different angles.
It should:
- Resist tipping
- Not wobble excessively
- Remain level
If instability exists, adjust immediately.
Maintenance and Longevity Tips
A high-quality freestanding divider can last years with proper care.
Recommended practices:
- Check hardware monthly
- Clean according to material type
- Avoid overloading shelves
- Keep away from moisture unless water-resistant
For bookshelf models, distribute weight evenly across shelves.
Budget Planning: What Should You Expect to Pay?
Pricing varies depending on material and engineering quality.
General range:
- Entry-level: $60–$150
- Mid-range: $150–$400
- Premium engineered systems: $400–$900+
Higher cost often reflects:
- Better structural design
- Superior materials
- Longer lifespan
- Enhanced stability
Think in terms of long-term value rather than short-term savings.
Common Mistakes Renters Make
Avoid these frequent errors:
- Buying without measuring ceiling height
- Ignoring floor protection
- Choosing decorative-only models for functional needs
- Blocking HVAC airflow
- Overloading shelves beyond weight capacity
Each mistake increases risk of damage or instability.
Strategic Design Ideas for Small Rental Apartments
To maximize impact:
- Use a divider to create a defined bedroom zone in a studio
- Position a bookshelf divider behind a sofa to create a subtle boundary
- Combine a curtain divider with layered lighting for a cozy effect
- Use a slim divider as a visual backdrop for video calls
Think strategically about light, movement, and function.
Conclusion
A freestanding room divider for rentals is more than a decorative piece. It is a strategic solution for privacy, organization, and adaptability in apartments where permanent modifications are not allowed.
When selected carefully, it offers structural stability, lightweight mobility, and 100% removability without surface damage. By measuring correctly, choosing the right type, installing carefully, and maintaining properly, you can transform your rental space with confidence.
The right divider does not just separate space — it enhances how you live within it.
Frequently Asked Questions
1. Can a freestanding divider really stay stable without wall support?
Yes. High-quality models rely on balanced weight distribution and reinforced bases rather than wall anchoring.
2. Will a room divider damage hardwood floors?
Not if it includes padded feet and is assembled carefully.
3. Are tension-based dividers safe for drywall ceilings?
Yes, provided they include rubber protection pads and are installed correctly.
4. Do dividers help reduce noise?
Most provide limited sound control. Acoustic panels are better for soundproofing.
5. How easy is it to move a lightweight divider?
Most rental-friendly models can be repositioned by one person in minutes.