Working remotely from a small rental apartment presents a unique challenge: your living room, bedroom, or even kitchen may double as your office. Without clear separation, your brain struggles to distinguish between work time and personal time. This can reduce productivity, increase stress, and make it harder to disconnect at the end of the day.
Creating a home office divider is a practical and renter-friendly solution. It allows you to define a dedicated workspace without making permanent modifications or violating your lease. With the right divider, you can improve focus, reduce distractions, and make your apartment feel more organized and professional.
This guide provides a detailed, step-by-step process to help you choose, install, and optimize a home office divider that fits your space, budget, and rental restrictions.
Why a Home Office Divider Is Essential in a Small Rental Apartment
When your home and office share the same physical space, your productivity and mental clarity can suffer. A divider creates a physical and psychological boundary that improves your daily workflow.
Here are the main benefits:
- Creates a clear separation between work and personal life
- Improves focus by reducing visual distractions
- Provides privacy for video meetings
- Makes your workspace look more professional
- Helps maintain organization in small spaces
Even a simple divider can transform how your apartment functions. It signals to your brain when it’s time to work and when it’s time to relax.
Step 1: Evaluate Your Apartment Layout Carefully
Before buying or installing anything, you need to understand your space. This step prevents mistakes and ensures your divider improves your setup instead of making it worse.
Start by identifying possible workspace areas:
- Corners of the living room
- Empty wall sections
- Areas near windows
- Spaces behind sofas
- Unused bedroom corners
Look for a location that meets these criteria:
- Away from heavy foot traffic
- Access to natural light
- Enough room for a desk and chair
- Minimal distractions
Avoid placing your office divider in areas that block pathways or restrict movement. You want separation, not obstruction.
Step 2: Measure Your Space Accurately
Measuring your space is essential for choosing the right divider size. Incorrect measurements can result in unstable installations or wasted money.
You should measure:
- Floor-to-ceiling height
- Width of the area to be divided
- Desk dimensions
- Clearance space for walking
Follow this simple measuring process:
- Use a measuring tape for accuracy
- Measure the full width where the divider will go
- Measure ceiling height if using tension rods or tall dividers
- Leave at least 24–36 inches of walking space
Write down all measurements before purchasing anything.
Step 3: Choose the Best Type of Home Office Divider
Different divider types offer different advantages. Your choice depends on your space, budget, and rental restrictions.
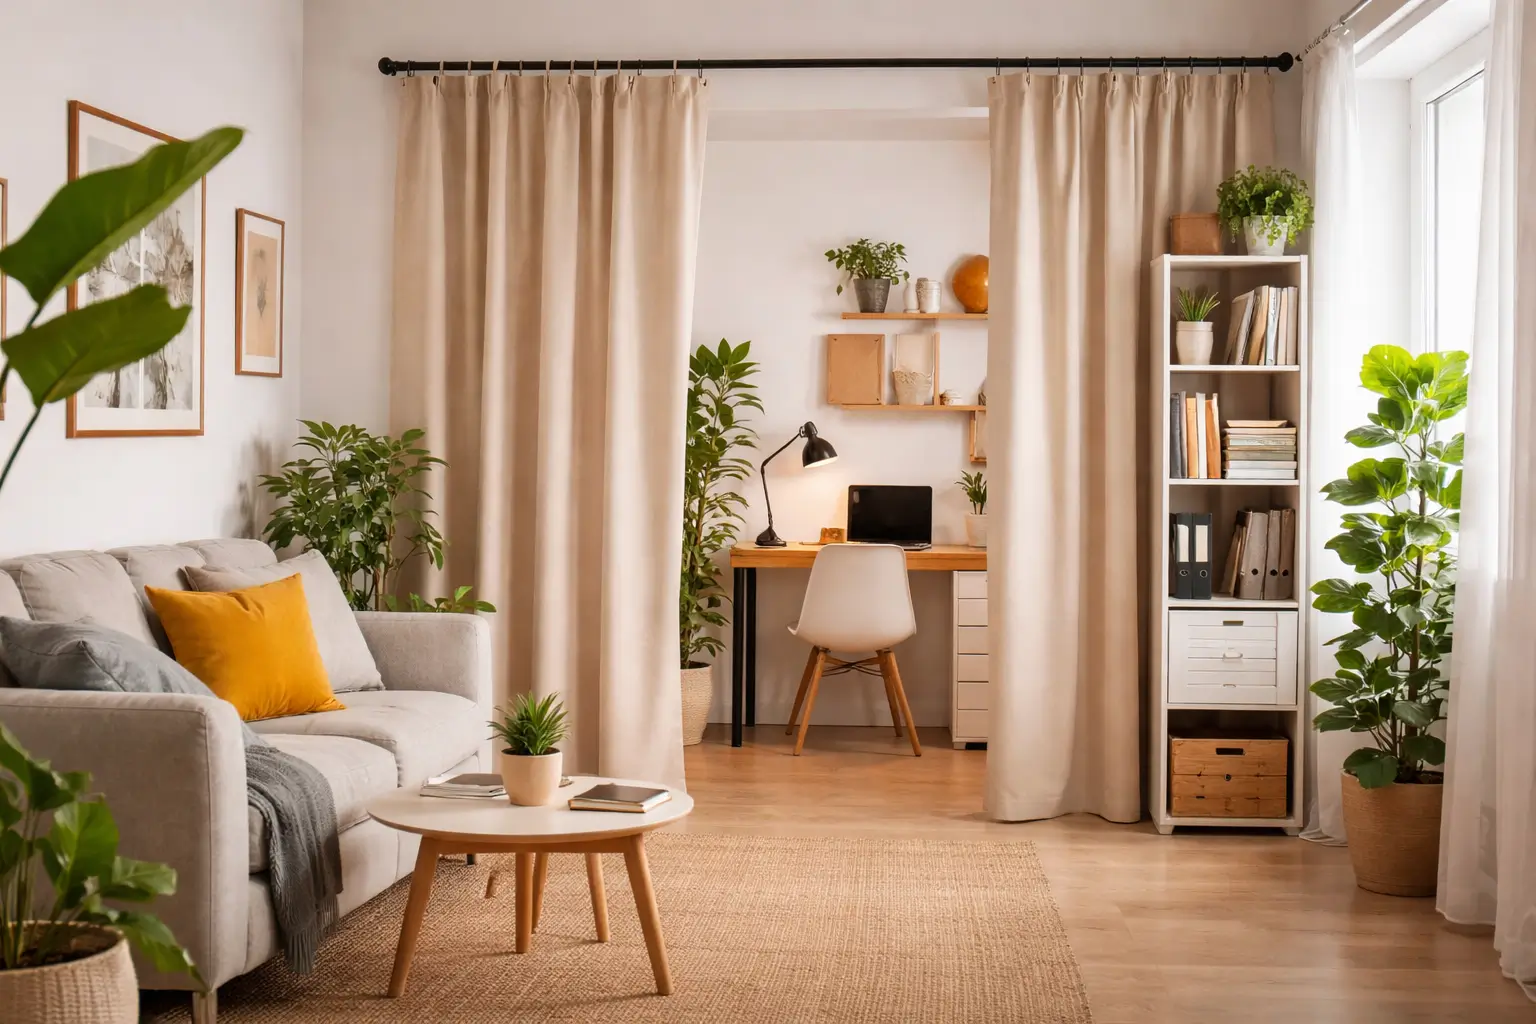
Option 1: Curtain Divider with Tension Rod (Best Overall Option)
Curtains are one of the easiest and most affordable solutions.
Benefits include:
- No drilling required
- Easy installation
- Low cost
- Flexible and removable
- Lightweight
Step-by-step installation:
- Purchase a tension rod that fits your space width
- Choose thick or blackout curtains for better separation
- Install the tension rod between two walls
- Hang curtains evenly
- Adjust height and positioning
Curtains also help absorb sound, which improves privacy.
Option 2: Freestanding Bookshelf Divider (Best for Storage)
Bookshelves serve two purposes: storage and separation.
Advantages include:
- Provides organization
- Creates strong visual separation
- No installation required
- Improves functionality
Best practices:
- Choose open-back shelves to allow light through
- Place heavier items on lower shelves for stability
- Avoid blocking natural light completely
Bookshelves are ideal for remote workers who need extra storage.
Option 3: Folding Screen Divider (Best for Flexibility)
Folding screens are portable and easy to use.
Key advantages:
- No installation required
- Easy to move
- Available in various styles
- Perfect for temporary setups
Step-by-step setup:
- Unfold the screen
- Place it behind your desk
- Adjust angles for maximum coverage
- Ensure stability
This is ideal if you frequently rearrange your apartment.
Option 4: Plant Divider (Best Natural Option)
Plants can act as natural dividers while improving air quality.
Good plant choices include:
- Snake plants
- Bamboo
- Fiddle leaf figs
- Tall indoor palms
Benefits include:
- Improves aesthetics
- Reduces stress
- Creates soft visual separation
Use plant stands to increase height if needed.
Option 5: Clothing Rack Divider (Best Budget Option)
Clothing racks can double as dividers.
Benefits include:
- Very affordable
- Easy to move
- No installation required
You can hang:
- Curtains
- Fabric panels
- Decorative cloth
This is a creative and low-cost solution.
Step 4: Install the Divider Using Rental-Safe Methods
As a renter, you must avoid permanent modifications.
Use these safe installation methods:
- Tension rods
- Freestanding furniture
- Weighted bases
- Pressure-mounted poles
Avoid:
- Screws
- Nails
- Wall anchors
These can damage walls and violate your lease.
Step 5: Optimize Lighting for Productivity
Lighting is essential for a functional workspace.
Poor lighting causes:
- Eye strain
- Fatigue
- Reduced productivity
Follow these lighting tips:
- Position your desk near a window
- Use a desk lamp
- Avoid blocking natural light with solid dividers
- Use LED lighting for efficiency
Good lighting improves mood and performance.
Step 6: Improve Privacy and Reduce Noise
Privacy is important, especially during meetings.
To improve sound isolation:
- Use thick curtains
- Add rugs
- Place bookshelves nearby
- Use fabric dividers
Soft materials absorb sound better than hard materials.
This creates a quieter workspace.
Step 7: Make Your Divider Look Professional
Your workspace appearance matters, especially for video calls.
Follow these visual improvement tips:
- Use neutral colors
- Keep the area clean
- Avoid clutter
- Hide cables
- Add minimal decoration
A clean workspace improves professionalism and focus.
Step 8: Maximize Space Efficiency
Small apartments require efficient use of space.
Use multifunctional furniture:
- Storage shelves
- Desk with drawers
- Wall organizers
- Vertical storage
Avoid oversized dividers that overwhelm the space.
Choose proportional solutions.
Step 9: Budget-Friendly DIY Divider Option
If you want a low-cost solution, you can build your own divider.
Simple DIY curtain divider:
Materials needed:
- PVC pipes
- Curtains
- Connectors
Steps:
- Assemble a PVC frame
- Hang curtains
- Place behind desk
This is affordable and effective.
Common Mistakes to Avoid
Avoid these mistakes:
- Blocking natural light
- Choosing unstable dividers
- Ignoring measurements
- Making permanent changes
- Using oversized dividers
These mistakes reduce functionality.
Maintenance and Long-Term Flexibility
Maintain your divider regularly.
Recommended maintenance:
- Clean curtains and surfaces
- Check stability
- Adjust positioning when needed
- Replace worn materials
Flexible solutions adapt better to changing needs.
Final Setup Checklist
Before finishing, confirm the following:
- Divider is stable
- Workspace is comfortable
- Lighting is sufficient
- Area is organized
- Divider does not block pathways
This ensures optimal results.
Conclusion
Creating a home office divider in a small rental apartment is one of the most effective ways to improve productivity, focus, and work-life balance. Even in limited space, renter-friendly solutions like curtains, bookshelves, folding screens, and plant dividers allow you to create a dedicated workspace without permanent modifications.
The key to success is planning carefully, measuring accurately, and choosing a divider that fits your specific needs. Focus on flexibility, stability, and functionality. Avoid damaging walls, and prioritize solutions that are easy to install and remove.
By following this step-by-step guide, you can transform your apartment into a more productive and organized environment while maintaining the freedom and flexibility required in a rental space.
Frequently Asked Questions (FAQs)
1. What is the easiest home office divider for renters?
Curtain dividers with tension rods are the easiest option. They require no drilling, are affordable, and can be installed in minutes.
2. What is the best divider for very small apartments?
Folding screens and curtains work best because they take minimal space and are flexible.
3. Can I create a divider without damaging the walls?
Yes. Use freestanding furniture, tension rods, or folding screens.
4. What is the cheapest home office divider solution?
DIY curtain frames using PVC pipes or clothing racks are the cheapest options.
5. Does a home office divider improve productivity?
Yes. It reduces distractions, improves focus, and helps create a clear boundary between work and personal life.